http://www.openni.org/openni-migration-guide/
II. Debugging the sample code of Kinect Camera calibration:
Here is a simple example about how to use 2 Kinect cameras to cover the 3D environment from different viewpoints:
。http://viml.nchc.org.tw/blog/paper_info.php?CLASS_ID=1&SUB_ID=1&PAPER_ID=216
。the other explanation webpage:
http://kheresy.wordpress.com/2011/01/20/read_kinect_depth_data_via_openni/
In the beginning, this the example is not able to be executed correctly, because of mis-linking to Qt library. After searching solution from forum, I should modified the existing setup in the code to my current path of library of Qt.
。C++/general:
$(QTDIR)\include,
$(QTDIR)\include\QtWidgets
$(QTDIR)\include\QtCore
$(QTDIR)\include\QtOpenGL
$(QTDIR)\include\QtGui
。Linker/general:
$(QTDIR)\lib
。Linker/input:
$(QTDIR)\lib\Qt5OpenGLd.lib
$(QTDIR)\lib\Qt5Widgetsd.lib
$(QTDIR)\lib\Qt5Guid.lib
$(QTDIR)\lib\Qt5Cored.lib
III. Problems after solving linking Qt libraries:
However, currently this code is for OpenNI 1.5 version, not for OpenNI 2.x version. There is kind of conflict issue when OpenNI 1.5 + SensorKinect 5.1.6.6 and OpenNI 2.x + Microsoft Kinect SDK are installed together on the same Windows platform. The problem I found are:
。Problem 1: XnCppWrapper.h can not be include in VS2010: if we use OpenNI 2.x version.
There is no this h-file in the latest version of OpenNI.
。Problem 2: OpenNI.dll missing: once we installed OpenNI 1.x version together with version 2.x
Speaking of problem 1, XnCooWrapper.h is the header file in OpenNI 1.5; we need to change it into OpenNI.h which is the header file in OpenNI 2.x.
To solve problem 2, I decide to re-install the libraries related Kinect. The following page shows the libraries for OpenNI 1.5.4 version:
。http://pointclouds.org/downloads/windows.html (Here provides the accessible libraries in OpenNI 1.5 version)
。The steps for installation of Kinect libraries
(http://kheresy.wordpress.com/2012/03/15/2012_openni_env_kinect_setup/)
(http://studentguru.gr/b/vangos/archive/2011/01/20/how-to-successfully-install-kinect-windows-openni-nite)
1. OpenNI 1.5.4 - WinX32:
This is the based platform for Kinect.
2. SenseKinect 5.1.6.6- WinX32:
The driver of Kinect for supporting OpenNI (OpenNI 2.2 version could just install Kinect SDK,
the official driver released by Microsoft) which is release from PrimeSense.
3. NiTE 1.5.2 - WinX32:
Mainly this one is for extracting information for skeleton and gesture etc.; because we just
need RGB & Depth information, this one is just installed for preparation for possible future
usage.
(*Furthermore, due to the value of resolution of Kinect camera is 640x480, we need to modify
the corresponding value in the document of NiTE from 340x240 to 640x480 instead. The
simple way is use all XML files within 'Sensor: /SampleXMLs/NITE/Data/', and substitute
the 3 in 'NITE: /Data/')
4. Plugging in the Kinect to computer:
The yellow signal light should be sparkling now.
5. Testing the examples 'NiViewer.exe' & 'NiSimpleViewer.exe':
Both these 2 applications are located in 'OpenNI: Samples/Bin/Release/'.
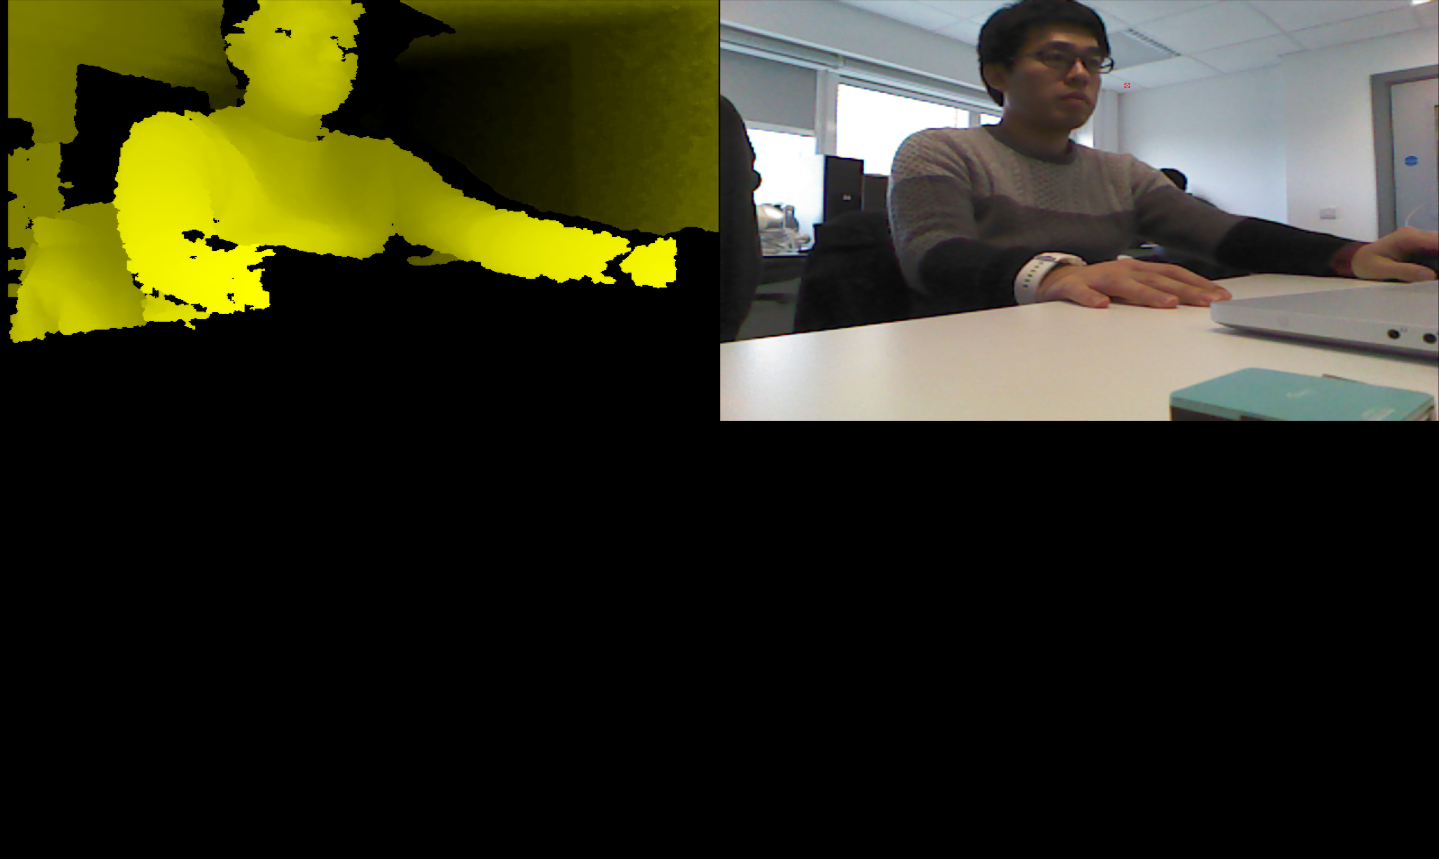
Here is the figure of executing results.
6. Testing the examples 'NiUserTracker.exe':
This programme shows different depth information of objects and mark objects by using
different colors in gray-level on the depth map, and using colors in RGB space on the real
scene. Here is the results:
IV. Here is a way to make OpenNI 1.5 + SensorKinect 5.1.6.6 and OpenNI 2.x + Microsoft
KinectSDK exist simultaneously: (http://blog.csdn.net/chenyusiyuan/article/details/8773007)
1. Open the 'Device Manager'
2. Currently, in 'PrimeSense' item, this means Kinect is driving by SenseKinect driver, not Microsoft Kinect SDK. We could change the driver of 'Kinect4Windows Camera', from
SenseKinect (PrimeSense) into Mocrosoft Kinect SDK. Yet, we have to uninstall this
'Kinect4Windows Camera' first by right click the mouse button as the pointer is on this item.
To point out, while we install the Microsoft SDK, we could just choose the option 'Search automatically for updated software':
and then choose the 2nd one 'No, let me choose the operation to execute':
3. If we would like to back to PrimeSense one again, just repeat the same process.
To point out, while we install the PrimeSense driver, we should choose the opposite option:
4. This is the way to make both of this 2 system configuration be existed at the same time!


No comments:
Post a Comment